
Your car’s paintwork is its first impression, but what happens when scratches ruin that sleek finish? Even minor marks make your car look neglected and slash its resale value.
The good news is you don’t always need a panel beater to fix them. With the right tools and techniques, you can learn how to remove scratches from your car at home.
In this guide, we’ll break down DIY buffing tips that save money while keeping your vehicle looking sharp.
Understanding Car Scratches
Not all scratches are created equal. Before reaching for the buffer, you need to understand what type of scratch you’re dealing with.
Some can be buffed out with polish, while deeper gouges may require professional repair.
Identifying the damage first ensures you use the right approach.
How Do You Buff Out Scratches on a Car?
If you’re wondering how to buff out scratches on a car, the process involves using a polishing compound, a buffing pad, and a steady technique.
By gently removing microscopic layers of clear coat, you smooth out the surface and make scratches less visible, or erase them completely if they’re shallow.
Types of Scratches You Can Fix Yourself
These are surface-level marks affecting only the top protective layer. They’re the easiest to fix with polish or a buffing compound.
Paint Layer Scratches
Deeper than clear coat scratches, these cut into the coloured paint. They may still be treated at home with careful buffing, though results vary.
Primer or Bare Metal Scratches
If you can see grey primer or shiny metal, buffing won’t be enough. These need professional attention to prevent rust.
Essential Tools for DIY Buffing
Before you begin, gather the right equipment. Having the right tools makes the difference between success and disappointment.
- Microfibre cloths: Gentle on paint, perfect for application and wiping.
- Dual-action polisher: Provides even pressure for smooth buffing.
- Polishing compound: Designed to remove fine scratches.
- Wax or sealant: Protects your work and restores shine.
- Masking tape: Shields trim and sensitive areas during buffing.
Step 1: Clean the Area Thoroughly
Buffing dirt into the paint will cause more scratches. Wash the car with pH-balanced car shampoo, then dry it with a microfibre towel.
This ensures the polishing compound works directly on the scratch, not on surface grime.
Step 2: Assess the Scratch Depth
Run your fingernail across the scratch. If it doesn’t catch, it’s shallow enough for DIY repair. If it does, the scratch is deeper and may need professional attention.
This simple test saves you from wasting time on damage that buffing can’t fix.
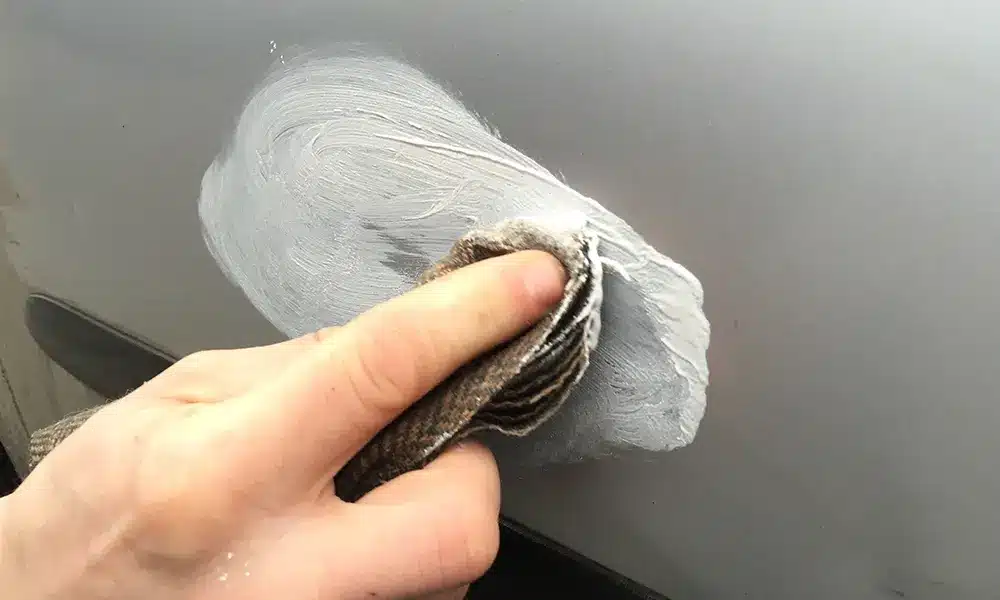
Step 3: Apply Polishing Compound
Put a small amount of compound on your buffing pad or cloth. Apply it to the scratch using circular motions, keeping pressure consistent.
The compound gently removes the clear coat around the scratch, evening out the surface.
Step 4: Buff the Scratch
If using a dual-action polisher, set it to low speed. Buff the area slowly, keeping the pad flat against the paint.
Don’t overdo it; too much pressure or time in one spot can thin the clear coat.
Step 5: Wipe and Inspect
After buffing, wipe away residue with a clean microfibre cloth. Inspect the scratch under good lighting.
If it’s still visible, repeat the process two or three times. Beyond that, further buffing may risk damaging the paint.
Step 6: Protect With Wax or Sealant
Once the scratch looks smooth, apply wax or sealant. This restores shine and shields the repaired area from future damage.
Skipping this step leaves your paint vulnerable to UV rays, dirt, and water.
Common Mistakes to Avoid When Buffing Scratches
DIY fixes are effective, but only if you avoid these mistakes:
- Using household abrasives like toothpaste on modern paint.
- Buffing aggressively without checking progress.
- Forgetting to clean the area before applying the compound.
These errors can make scratches worse instead of better.
When to Seek Professional Help
Some scratches are simply too deep for DIY. If primer or bare metal is exposed, or if buffing hasn’t improved the damage, call a professional.
We offer expert repair services for stubborn scratches and full paint restoration.
How to Prevent Scratches in the First Place
Prevention is always cheaper than repair. Protect your car’s finish by:
- Washing with the two-bucket method to avoid grit damage.
- Parking away from shopping trolleys and tight spaces.
- Applying ceramic coatings or paint protection film for extra defence.
Your Scratch Removal and Paint Protection Experts
So, how to remove scratches from your car without breaking the bank? If the damage is shallow, DIY buffing tips can restore your car’s finish and save money.
At Car One, we know every scratch matters. Our Brisbane-based team offers professional servicing, paint care, and advanced detailing to protect your vehicle’s value.
Call us today on (07) 3607 0215 tobook an inspection with us, your trusted automotive specialists in Brisbane.
FAQs
1. How do you buff out scratches on a car?
By applying polishing compound with a buffing pad, you smooth the clear coat until scratches blend in.
2. Can all scratches be removed with DIY methods?
No. Only shallow clear coat scratches can be buffed out at home. Deep scratches need professional repair.
3. How long does it take to remove a scratch?
A small scratch can take 15–30 minutes to buff and polish properly.
4. Will buffing damage my car’s paint?
Not if done carefully. Over-buffing or using the wrong products can thin the clear coat.
5. How much does professional scratch removal cost?
Prices vary, but professional repairs are often cheaper than a respray if scratches are severe.


